TM 5-3895-359-14&P
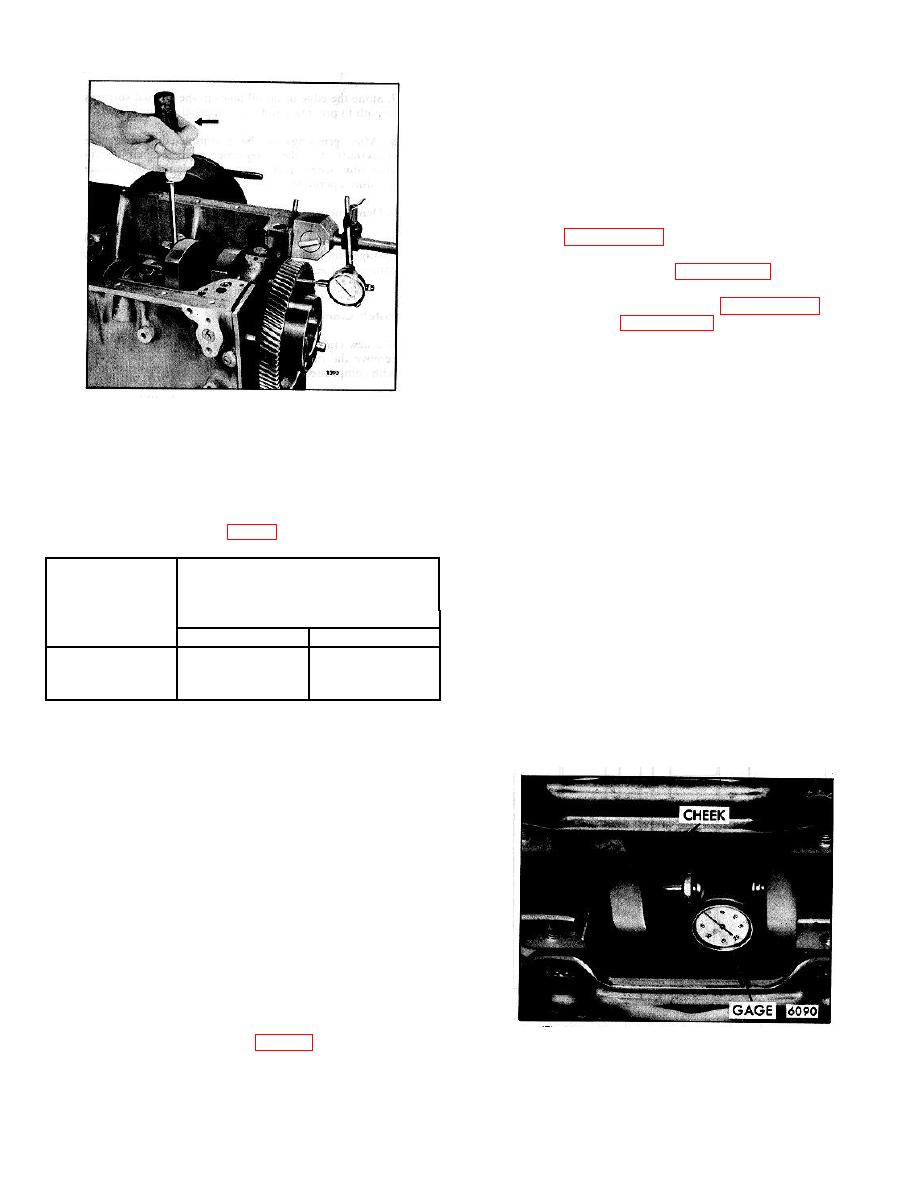
the other side of the bearing cap. Force the crankshaft
in the opposite direction and note the amount of end
play on the dial. The end play should be .004 " to .011 "
with new parts or a maximum of .018 " with used parts.
Insufficient end play can be the result of a misaligned
rear main bearing or a burr or dirt on the inner face of
one or more of the thrust washers.
8. Install the cylinder liner, piston and connecting rod
assemblies (Page 10-2-99).
9. Install the cylinder head (Page 10-2-25).
10. Install the flywheel housing (Page 10-2-76), then
install the flywheel (Page 10-2-72).
11. Install the crankshaft front cover and gasket.
Fig. 10. Checking Crankshaft End Play
CAUTION:
Install the oil seal spacer or inner
NOTE:
cone after the crankshaft front cover
If the crankshaft thrust surfaces were
is in place to avoid damage to the oil
reground, it may be necessary to
seal lip.
install oversize thrust washers on
one or both sides of the rear main
12. Install the engine front support.
journal. Refer to Fig. 9 and Table 3.
13. Install the vibration damper inner cone or oil seal
Thrust Washer
spacer.
Nominol
Thickness
14. Install the vibration damper assembly.
Size
15. Install the crankshaft pulley.
Min.
Max.
Standard
.1190"
.1220"
16. Install the lubricating oil pump assembly (Page 10-
.005" Oversize
.1240"
.1270"
5-10).
.010" Oversize
.1290"
.1320"
TABLE 3
17. Check the crankshaft for distortion at the rear
connecting rod journal counterweights before and after
5. Install the lower bearing shells (no oil grooves) in the
installing the transmission. An improperly installed
bearing caps. It' the old bearing shells are to be used
again, install them in the same bearing caps from which
they were removed.
6. Install the bearing caps and lower bearing shells as
outlined under install Main Bearing Shells on Page 10-2-
62.
NOTE:
If the hearings have been installed
properly, the crankshaft will turn
freely with all of the main bearing
cap bolts drawn to the specified
7. Check the crankshaft end play by moving the
Fig. 11. Crankshaft Distortion Measuring Gage
crankshaft toward the gage (Fig. 10) with a pry bar.
Mounted on Crankshaft.
Keep a constant pressure on the pry bar and set the dial
indicator to zero. Then remove and insert the pry bar on
10-2-54


